")


You can dig trench a safe, effective trench without guesswork by planning depth and slope, choosing the right tools for your soil, and following basic safety steps. If you set the correct grade, check for underground utilities, and match tools to the job—hand tools for short shallow runs and a trencher for long or compacted soil—you’ll finish faster and with fewer problems.
This article walks you through practical steps to excavate trenches for drainage, pipes, or landscaping, and highlights safety practices that protect you and the worksite. Expect clear guidance on measuring, choosing equipment, and preventing collapses so your project proceeds efficiently and securely.
Essential Steps to Dig Trenches
You will plan the work for dig trenches , pick tools that match soil and depth, mark the trench precisely, and dig using safe, efficient techniques. Follow each step to reduce rework, avoid utility strikes, and keep workers safe.
Site Preparation and Planning
Call your local utility-marking service before any digging; wait for all utilities to be marked on the ground. Obtain required permits and check local depth and setback rules for sewers, drains, or irrigation lines.
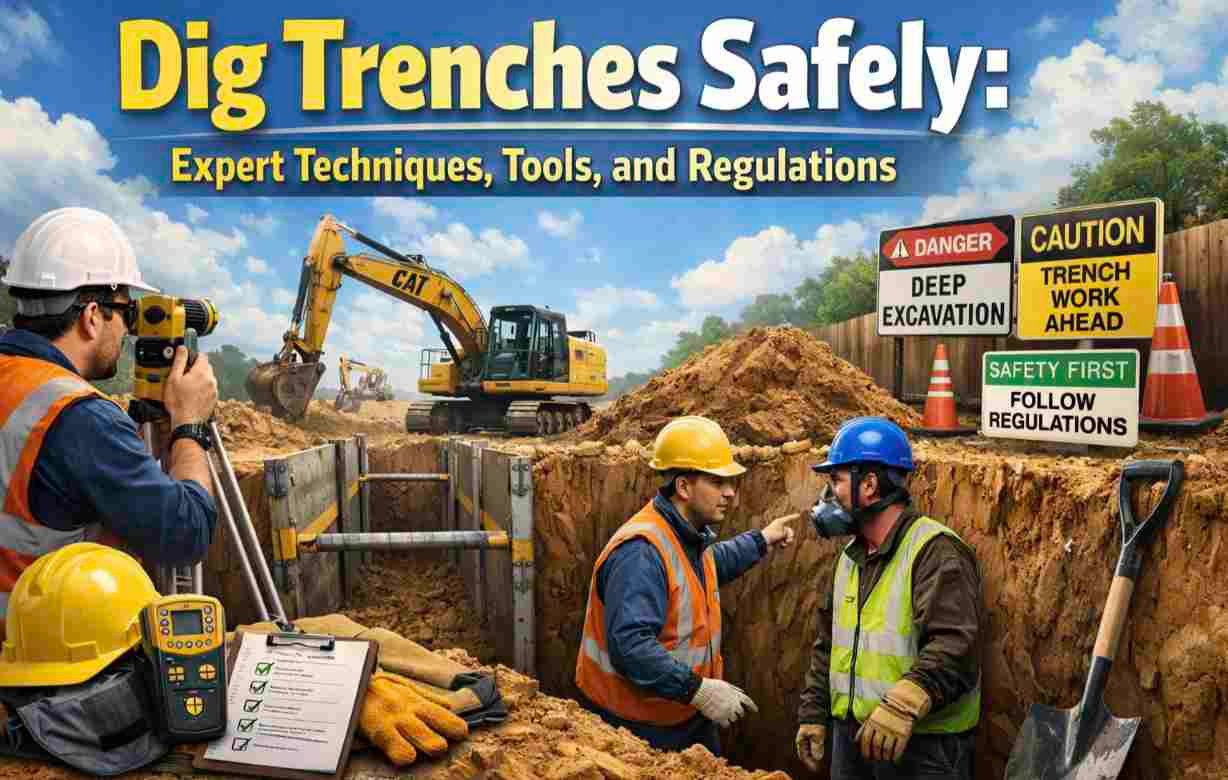
Inspect soil type and surface conditions. Note rock, clay, sandy layers, water table level, and any slope that affects drainage. Choose protective measures — benching, shoring, or trench boxes — based on trench depth and soil classification.
Plan access and egress: place ladders within 25 feet of workers and establish safe spoil pile zones at least 2 feet from the trench edge. Arrange traffic control if the trench lies near roads and set up erosion controls if rain is likely.
Selecting the Right Tools
Match tools to trench size and soil hardness. Use a trencher or mini-excavator for long or deep trenches; reserve shovels, spades, and mattocks for short runs, tight spaces, or roots. Choose a pick for compacted clay and a trenching shovel for clean vertical walls.
Select equipment with appropriate bucket width and reach to minimize rework. Bring a tamper or plate compactor for backfill, and a wheelbarrow for small spoil moves. Use hand tools with fiberglass handles for shock reduction.
Prioritize PPE: hard hat, steel-toe boots, gloves, eye protection, and high-visibility clothing. For deeper trenches, add gas detectors and fall-protection gear as needed.
Trench Layout Marking
Mark the trench centerline with string or paint and confirm alignment with a tape measure and line level. Record exact start and end coordinates if required by plans or utility companies.
Set batter boards or stakes at regular intervals to control grade. Use stakes with marks for invert elevation and string lines to guide slope and depth. Place elevation marks every 5–10 feet for long trenches.
Mark offsets for buried utilities, junctions, and service taps. Keep a visible zone for spoil piles and temporary equipment; mark no-go zones for vehicles to prevent edge collapse.
Excavation Techniques
Start shallow and work progressively deeper to monitor conditions and adjust shoring as needed. Remove spoil in lifts rather than dropping it back into the trench to preserve wall integrity.
Cut vertical walls in stable soils; bench or slope walls where soil is loose or when regulations require. Use mechanical digging for speed but hand-dig within 2 feet of marked utilities to avoid strikes.
Inspect walls each shift and after events like rain or vibration. Install ladders for every 25 feet of trench length and maintain a clear, safe entry/exit. Backfill in layers, compacting each lift to the specified density to prevent future settling.
Best Practices and Safety Considerations
You must assess soil conditions, choose appropriate reinforcement, and control water to prevent cave-ins and equipment damage. Follow specific steps for testing, shoring, and drainage before and during digging.
Soil Type Assessment
Perform a visual and hand-textural inspection first, then classify soil using the Unified Soil Classification or OSHA categories (stable rock, Type A, B, C). If you find cracks, fissures, or layered deposits, treat the soil as weaker than it appears.
Take at least one hand-auger sample per 25 feet of trench length and deeper if soil changes. Conduct pocket penetrometer or shear tests where available, and record moisture content and water table depth. If you detect contamination or organic material, stop and consult a geotechnical engineer.
Mark zones of variable soil on your drawings and plan slopes, benches, or shields accordingly. Reassess soil after rain, excavation, or vibration from nearby traffic; reclassification is common and often necessary.
Trench Reinforcement Methods
Select a protection method based on soil type, trench depth, and adjacent loads. Use sloping/benching for Type A and B soils where space allows; follow specific slope ratios (e.g., 1:1 or as directed by a competent person). Use trench boxes (shields) when you need immediate worker protection and minimal lateral space.
Install shoring systems—hydraulic, timber, or aluminum—when sloping isn’t feasible or soil is Type C. Ensure shoring members extend to the trench bottom and bear against stable material; inspect all components daily and after any incident. Anchor shores and boxes to prevent movement from excavation or equipment strikes.
Assign a competent person to verify designs, perform daily inspections, and authorize entry. Keep excavation edges clear of spoil and heavy equipment by at least 2 feet to reduce collapse risk. Maintain means of egress (ladders every 25 feet) and provide fall protection at the trench lip.
Water Drainage Solutions
Identify the water table and surface runoff patterns before digging. Pumping alone is temporary; combine it with dewatering wells or wellpoints when groundwater is persistent. Locate pumps downhill and ensure hoses discharge away from the trench to prevent undermining adjacent soil.
Use trenches with graded side drains or install perforated pipes wrapped in filter fabric to channel subsurface water to sumps. Control surface water by grading site contours, installing berms, or using diversion ditches to route stormwater around the excavation.
Monitor for water accumulation continuously and stop work if water compromises trench walls. Maintain pump capacity with backups and test automatic controls daily. Document dewatering procedures and inspect pumps, hoses, and discharge areas after storms or heavy equipment operation.